A special visitor came to our classroom today - Melvin the Turtle. Melvin is 5 years old, is a red eared slider turtle, and despite the rather masculine name we found out that Melvin is a girl.
We spent a long time looking carefully at Melvin and she spent a long time looking carefully at us! We found out that Melvin likes eating her special frozen turtle food, she likes warm water and has a special heater in her tank, Melvin has sharp claws and her shell feels very hard.
In honour of Melvin we made turtle prints using a cooking pot!I used this post for inspiration.
To Make a Turtle Print:
Use printing ink to roll the bottom of a cooking pot or cake pan, then scratch a turtle shell pattern into the ink. We made sure to scratch quite firmly with our ice-block sticks so we could see the bottom of the pan through the ink.
Push the pot onto the paper.
Carefully lift off the pot and peel away the print. We made two prints; one for school, and one to take home.
Use finger prints for the flippers. We used a head shaped piece of card for the head, you could also try a milk bottle lid.
During the week we watched several You Tube clips about baby sea turtles hatching.
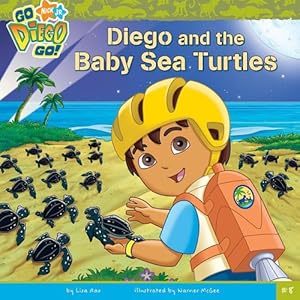
We enjoyed reading this book about baby sea turtles and how to look after them.
I love printmaking with children, but you do have to be organised. Sometimes one piece of art will take several sessions, so different equipment or materials will be needed for each lesson. I always complete a printmaking activity with small groups. That way the majority of mess is contained, and as most printing involves special art equipment (often in limited numbers) there is not always enough for everyone to use at once. Small groups of children just make it easier.
Check out some of our other printmaking activities:


No comments:
Post a Comment